Grout & Tile Reset: Natural Whitening Method
Dingy grout making bathroom or kitchen floors look dirty? This natural baking soda and hydrogen peroxide reset brightens grout lines without harsh chemicals or heavy scrubbing.
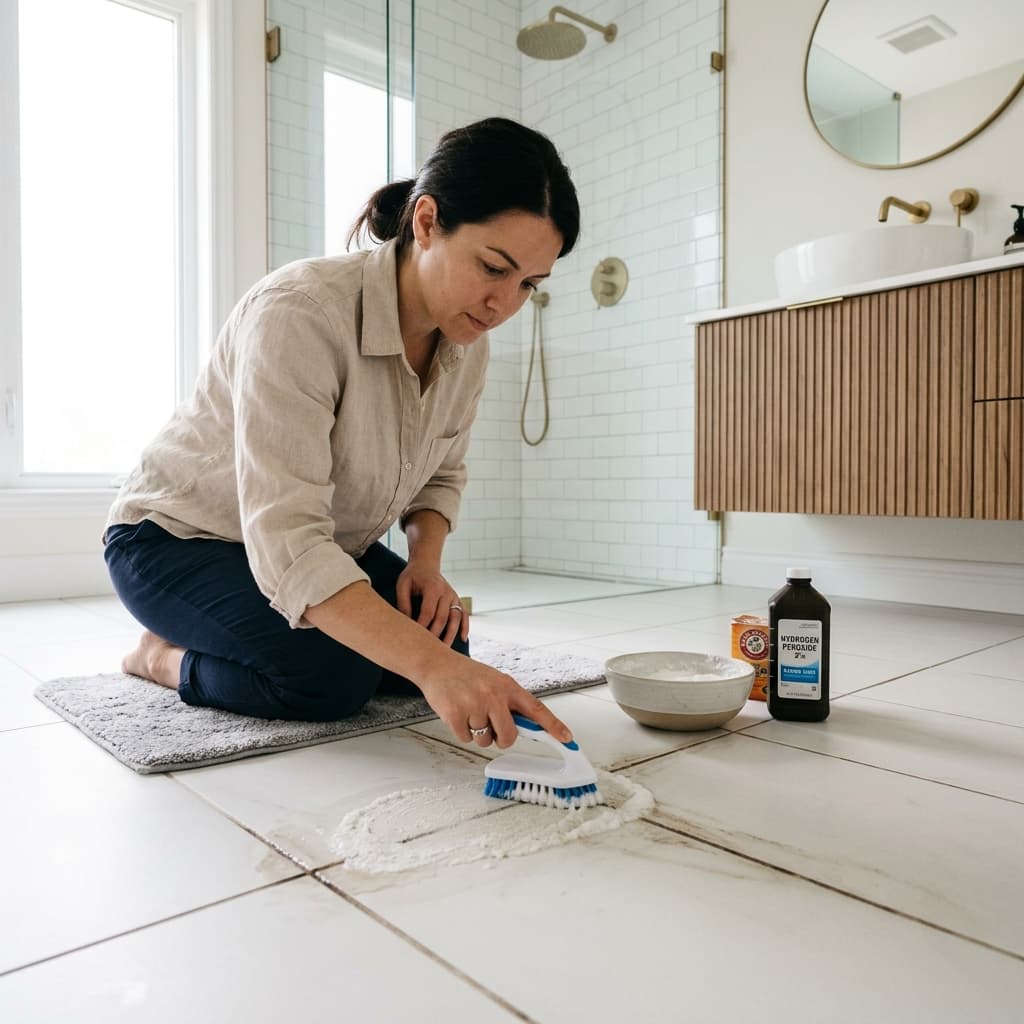
You look down at the bathroom or kitchen floor and the tiles themselves seem fine, but the grout lines have turned gray, yellow, or mottled. The whole floor looks older and dirtier than it should. In bathrooms, humidity feeds mold and mildew in the porous grout. In kitchens, grease and spills settle into the lines and darken over time.
Commercial grout cleaners often rely on strong chemicals and still require real scrubbing. A simple natural method using baking soda and hydrogen peroxide creates a paste that lifts stains, brightens the grout, and needs far less aggressive work if you give it proper dwell time. This grout tile reset is inexpensive, rental-friendly, and effective for everyday discoloration.
Why Grout Gets Dirty and Stays That Way
Grout is porous. It absorbs moisture, soap scum, body oils, cooking grease, and dirt. Once stained, the discoloration sits in the tiny pores rather than just on the surface. Bathroom humidity keeps the lines damp longer, encouraging mildew. Kitchen traffic and spills add layers of grease that regular mopping doesn’t fully remove.
Many people scrub too soon or with the wrong tools and end up frustrated. The paste method works better when you let chemistry and time do most of the lifting before you bring in the brush.
The Natural Whitening Paste That Works
The most reliable homemade combination is baking soda (mild abrasive and deodorizer) mixed with 3% hydrogen peroxide (oxygen bleach that breaks down organic stains and helps kill mildew). A few drops of dish soap help in greasy kitchen areas.
What You’ll Need
- Baking soda
- 3% hydrogen peroxide (standard brown bottle)
- Mild dish soap (optional, especially for kitchen)
- Old toothbrush or narrow grout brush
- Microfiber cloths or sponge
- Gloves
- Warm water for rinsing
Avoid mixing hydrogen peroxide with vinegar or bleach—those combinations can create irritating or hazardous fumes.
Step-by-Step Reset
-
Clear and dry-sweep the area.
Remove rugs, mats, and anything on the floor. Sweep or vacuum loose dirt so you’re not turning dust into mud. -
Mix the paste.
Combine about ½ cup baking soda with enough 3% hydrogen peroxide to make a thick, spreadable paste (roughly the consistency of toothpaste). Add a few drops of dish soap if you’re dealing with kitchen grease. Mix only what you’ll use—the peroxide loses strength over time once opened and mixed. -
Apply directly to the grout lines.
Use a gloved finger, small spatula, or the brush to press the paste into the grout. Cover the discolored lines thoroughly. You want it sitting in the groove, not just smeared across the tiles. -
Let it sit.
Give the paste 10–15 minutes (up to 20 for heavier staining). This dwell time is what reduces the amount of scrubbing needed. The peroxide works on stains while the baking soda stays in contact as a gentle abrasive. -
Scrub gently.
Work along the lines with the toothbrush or grout brush in small circular or back-and-forth motions. You should see the paste darken as it lifts dirt. Focus on the worst sections first. -
Rinse thoroughly.
Wipe or mop with clean warm water to remove all paste residue. Change the rinse water if it gets dirty. Any leftover baking soda can leave a white film once dry. -
Dry the floor completely.
Use clean cloths or allow air drying. In bathrooms, good airflow helps. Moisture left in the grout invites new discoloration, especially in humid weather.
What Most People Get Wrong
The biggest mistake is scrubbing immediately after applying the paste. Without dwell time, you’re relying almost entirely on abrasion and working harder than necessary. Another common error is using too thin a mixture that runs off the grout lines before it can work.
People also rinse poorly and then wonder why the floor looks hazy. Residue is the usual culprit. Finally, many skip any kind of follow-up protection. Clean grout that isn’t sealed (or at least kept as dry as possible) will start collecting new stains relatively quickly, especially in showers or high-spill kitchen zones.
Note that this method brightens and cleans; it does not permanently “bleach” grout that has been heavily stained for years or restore grout that is actually crumbling. Colored grout will clean up but won’t turn white.
Bathroom vs. Kitchen Adjustments
Bathroom floors: Humidity and potential mildew are the main issues. The peroxide in the paste helps with that. After cleaning, keep the floor as dry as possible—squeegee showers, run the exhaust fan, and consider a small dehumidifier if the room stays damp.
Kitchen floors: Grease is the bigger problem. Adding dish soap to the paste improves cutting power. Clean spills promptly going forward so they don’t have time to set into the grout.
For vertical surfaces like shower walls, the same paste works but apply it carefully so it doesn’t slide off. A slightly thicker mix helps.
Keeping Grout Cleaner Longer
- Sweep or vacuum regularly so dirt doesn’t grind into the lines.
- Mop with a pH-neutral cleaner rather than harsh products that can degrade grout over time.
- In bathrooms, reduce standing moisture.
- Consider a penetrating grout sealer after a thorough cleaning and full drying. Sealer isn’t permanent, but it slows future staining.
- Address small stains early instead of waiting for a full reset.
A light maintenance pass every few weeks in high-use areas prevents the need for intensive scrubbing sessions.
Realistic Time and Results
A small bathroom floor often takes 20–30 minutes of active work plus dwell time. A larger kitchen can take 40–60 minutes depending on how stained the grout is. Most people see a clear improvement—grout looks brighter and the floor appears cleaner overall. Deeply embedded or old stains may need a second application.
FAQ: Natural Grout Cleaning
What is the best natural way to whiten grout?
A paste of baking soda and 3% hydrogen peroxide, applied to the lines, left for 10–15 minutes, gently scrubbed, then thoroughly rinsed and dried. It lifts stains and brightens without chlorine bleach.
Can I use vinegar on grout?
Vinegar can help with some mineral deposits and light cleaning, but it is less effective for true whitening and organic stains than the peroxide-baking soda combination. Avoid mixing vinegar with hydrogen peroxide.
Will this method work on colored grout?
It will clean and brighten colored grout, but it won’t turn it white. Test a small area first if you’re concerned about any lightening of the pigment.
How often should I clean floor grout?
Every 1–3 months for a full reset in busy bathrooms or kitchens, depending on use and humidity. Lighter regular mopping and prompt spill cleanup reduce how often a deep clean is needed.
Is hydrogen peroxide safe for all tile?
3% hydrogen peroxide is generally safe for ceramic and porcelain tile and most grout. Avoid it on natural stone (marble, limestone, etc.) unless you’ve confirmed compatibility, as acids and strong oxidizers can damage stone.
Why does my grout look dirty again so quickly?
Grout is porous. Without sealing and without controlling moisture or spills, new stains form. Drying the floor well after cleaning and reducing humidity in bathrooms makes a noticeable difference.
Related Articles
- 15-Minute Sticky Floor & Musty Smell Summer Reset
- 12-Minute Bathroom Humidity Reset
- Baseboards & Floor Edges Reset
Dingy grout lines drag down the look of an otherwise clean floor. A straightforward paste of baking soda and hydrogen peroxide, given time to work, lifts a lot of that discoloration with reasonable effort and no harsh fumes.
Pick one section of floor this week—maybe the most visible stretch in the bathroom or the high-traffic path in the kitchen—and run through the steps. When the grout looks brighter, the whole room benefits.
How stained is your grout right now, and is it more of a bathroom humidity problem or a kitchen grease issue? Tell me in the comments so I can help you adjust the method. You’ve got this.
Related Posts
More in Bathroom →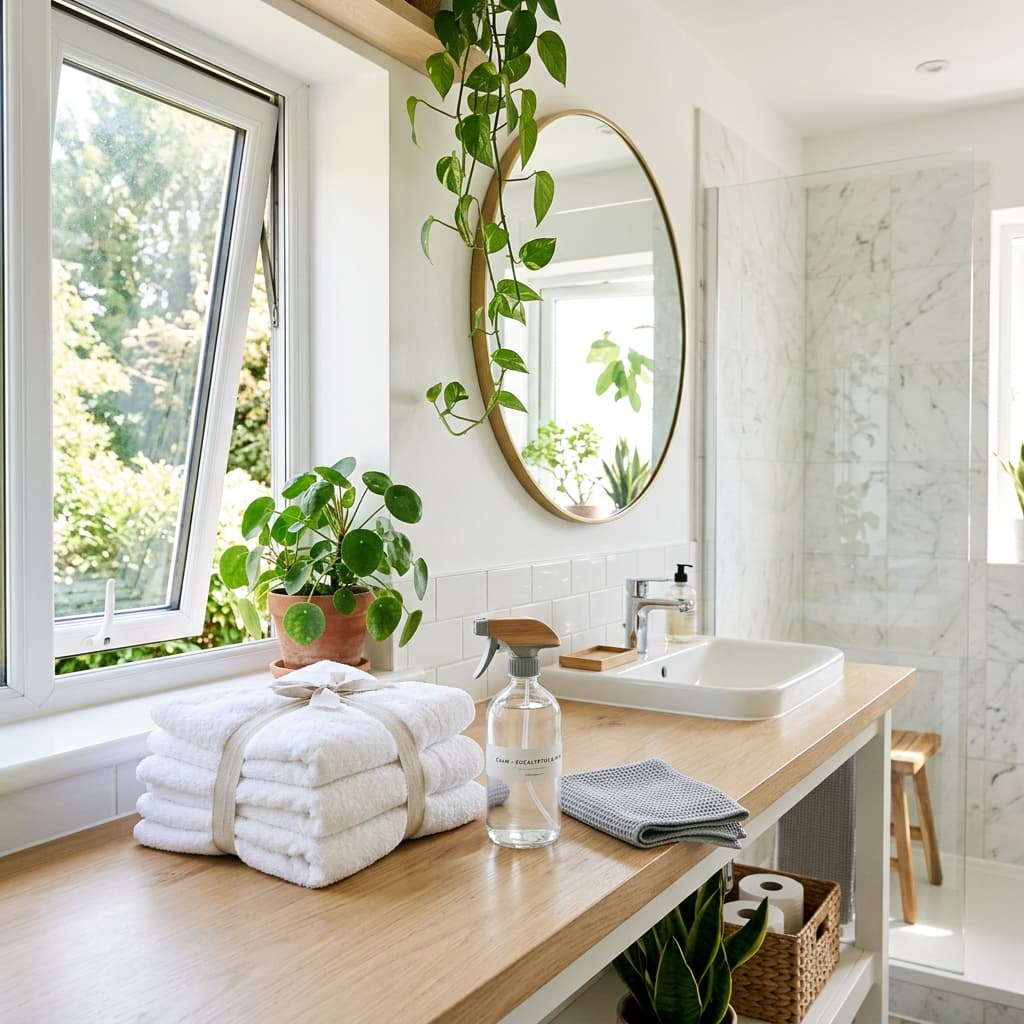
12-Minute Bathroom Humidity Reset (Stop Musty Mold)
Musty bathroom smells in summer humidity? This 12-minute bathroom humidity reset uses natural methods to stop mold, clear odors, and keep the space fresh.
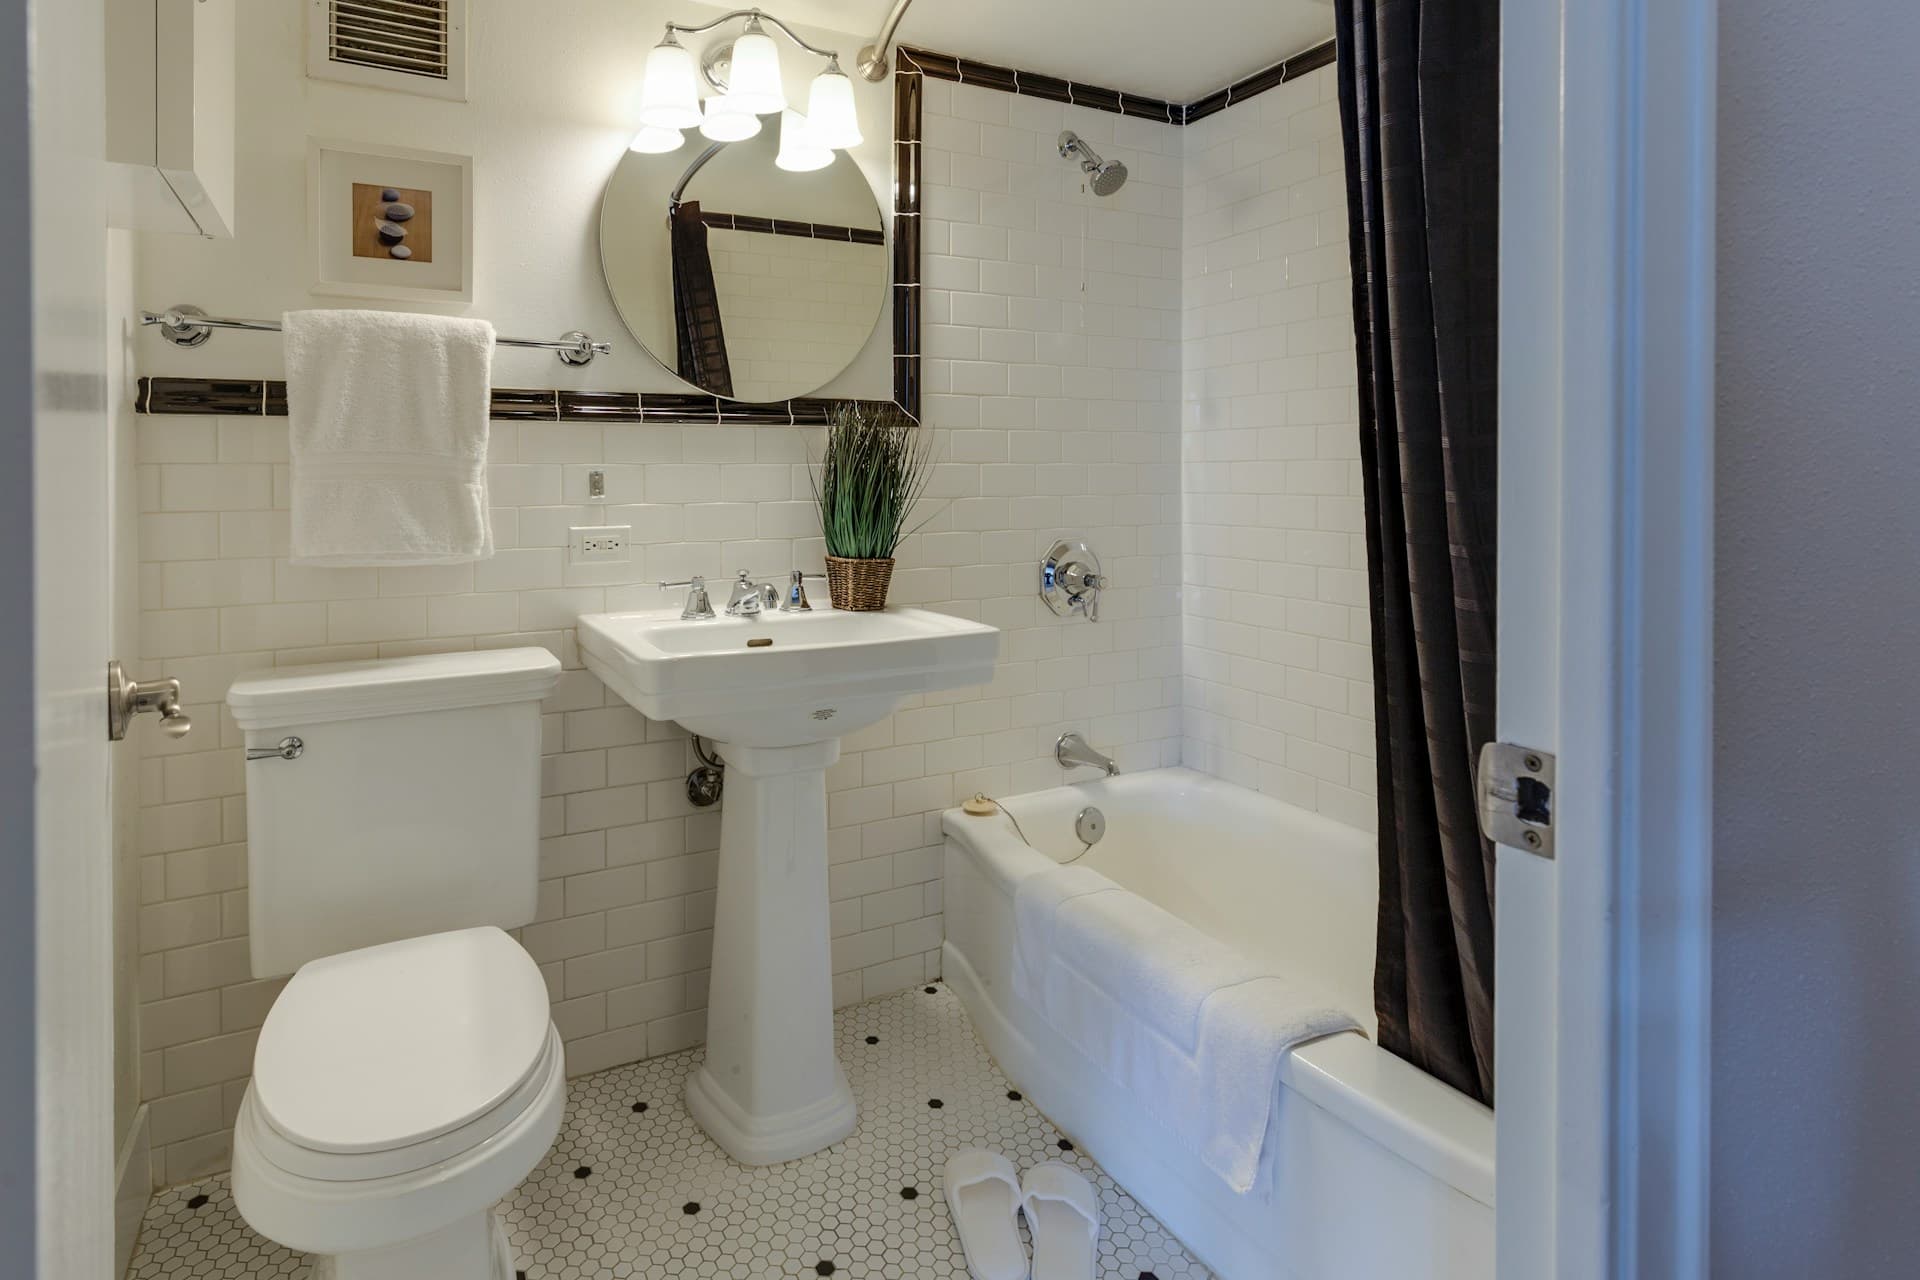
The Best Shower Curtains of 2026 for Style and Durability
Discover the best shower curtains of 2026 for style, privacy, and durability. Compare waffle weave, waterproof fabric, linen, and liner picks with buying tips.
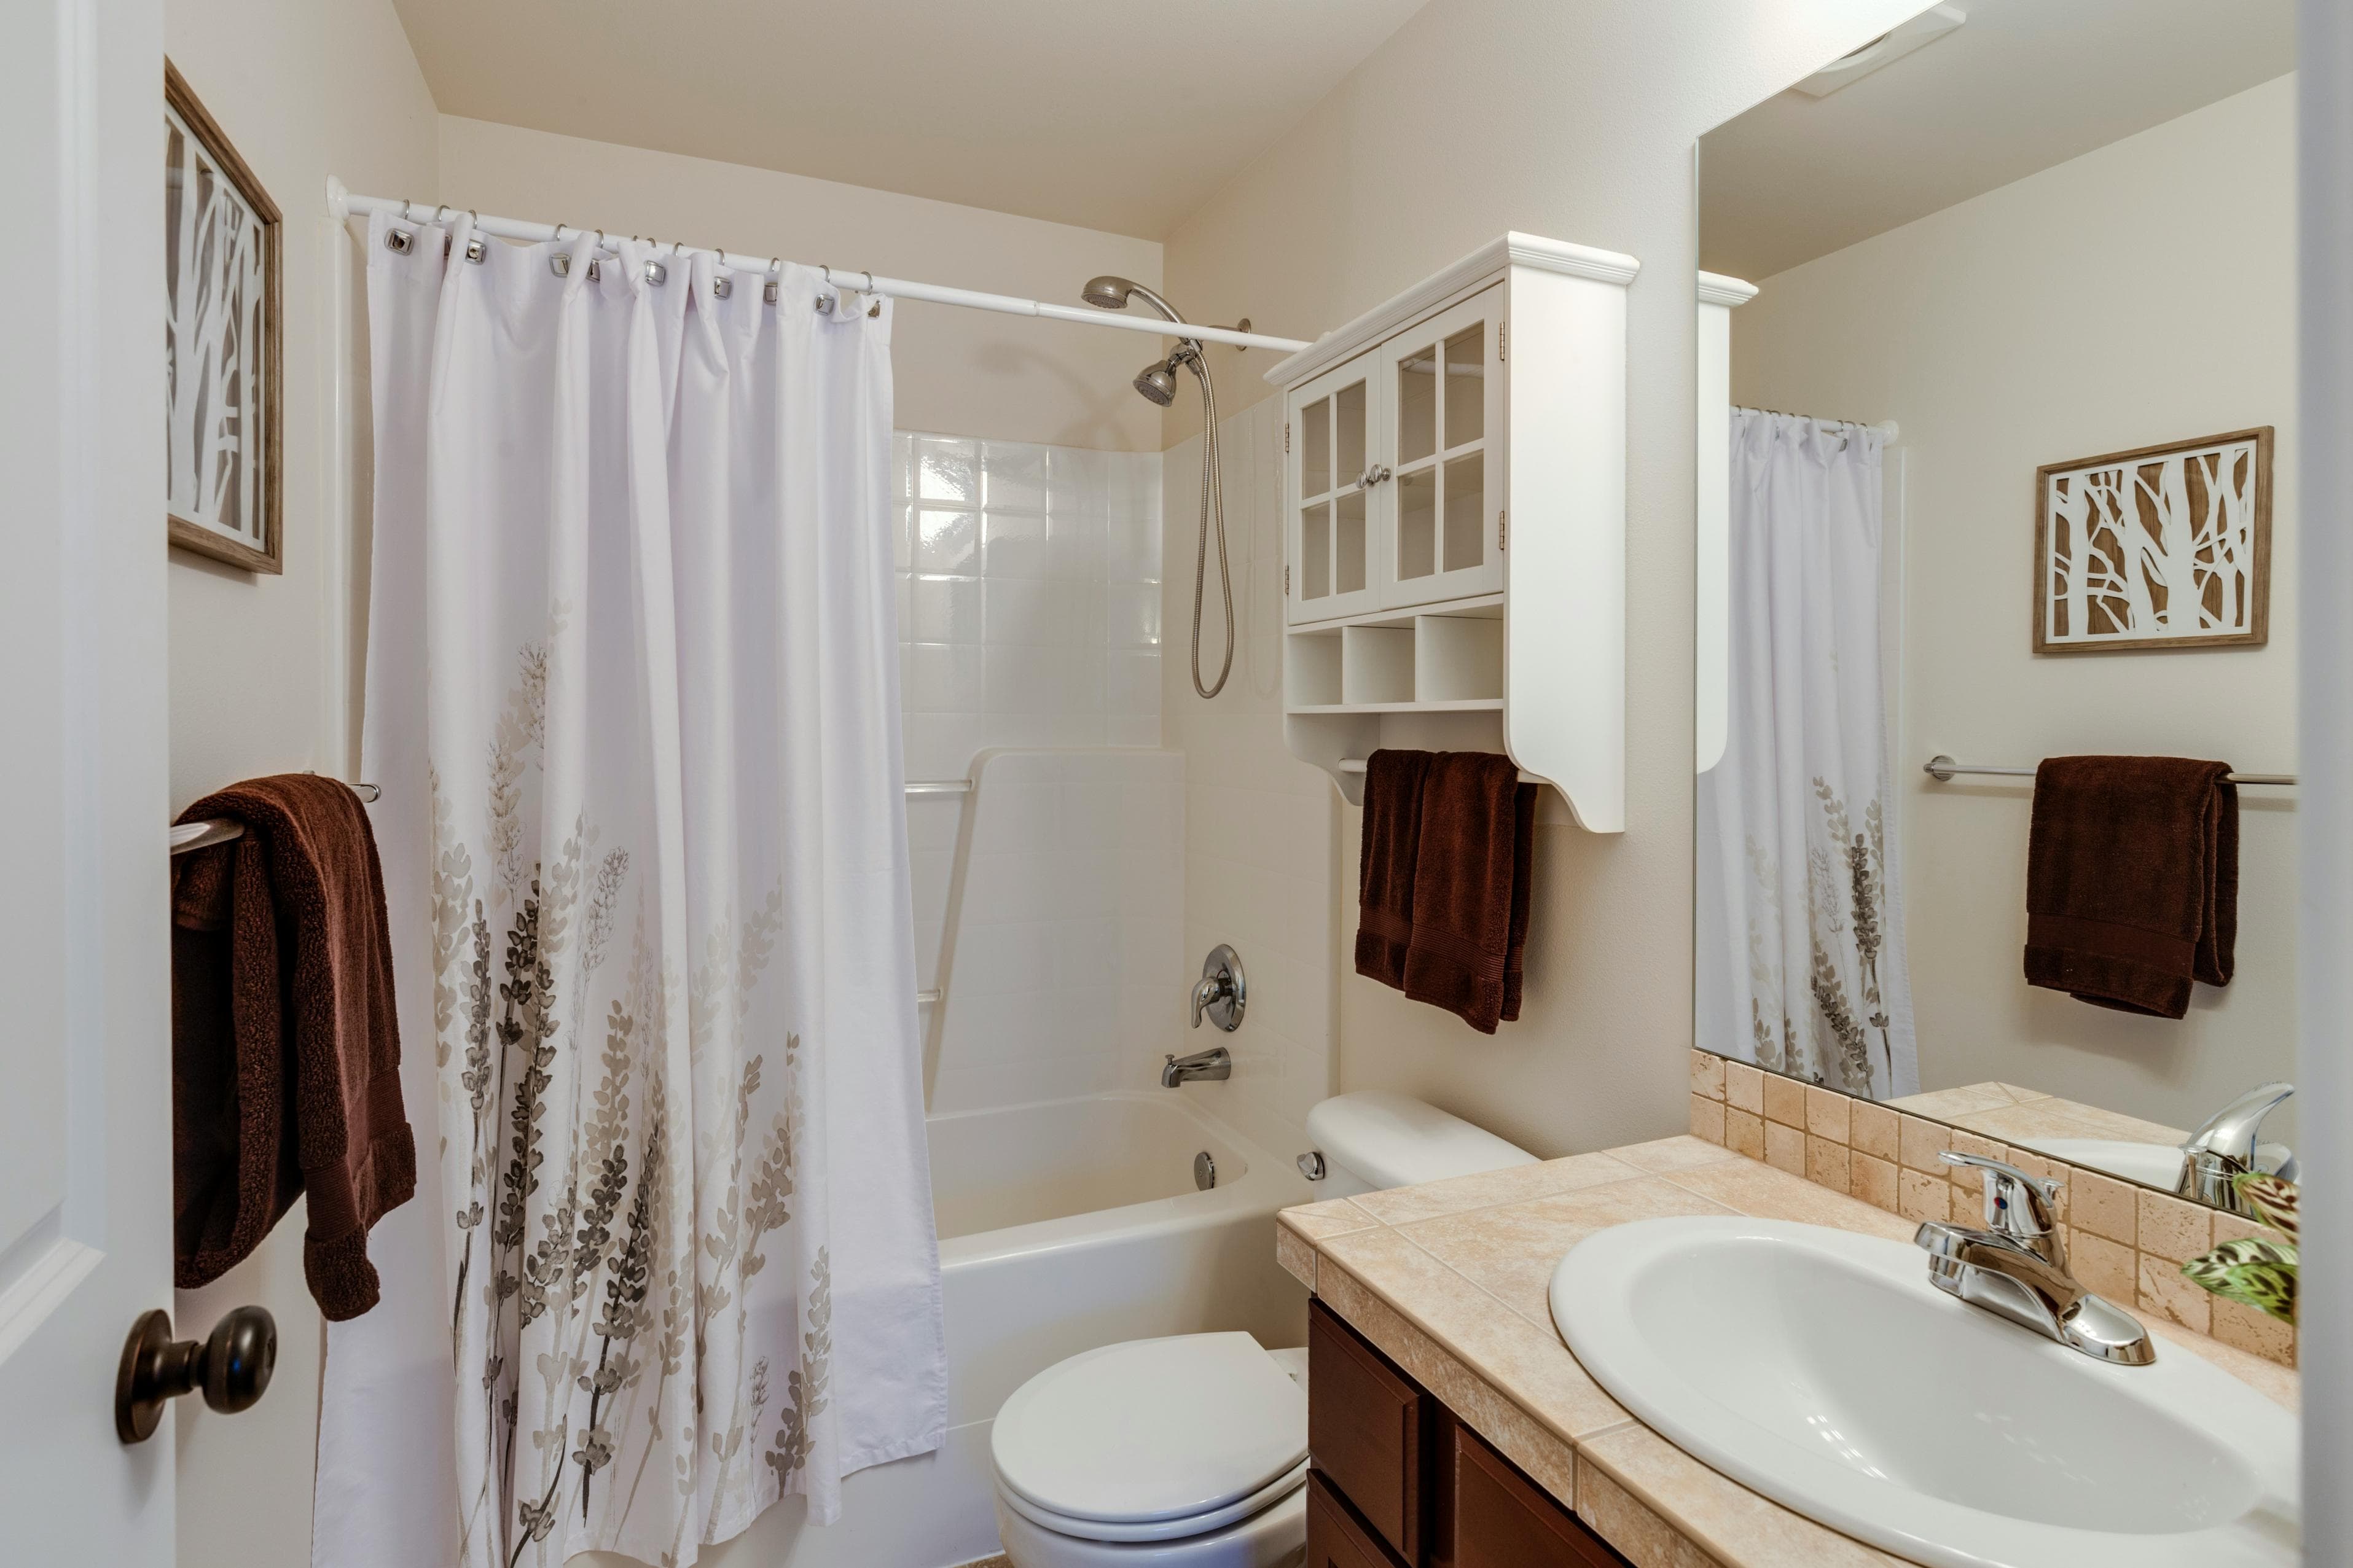
How High Should You Hang a Shower Curtain?
Learn how high to hang a shower curtain so a small bathroom looks taller. Get the exact rod-height formula, extra-long curtain sizes, and renter-friendly tips.