How to Clean Refrigerator Door Seals (Stop Mold & Sticky Residue)
Sticky fridge door seals or mold in the folds? Clean refrigerator door gaskets in 15 minutes: remove residue, cut mold risk, and restore a tight seal.
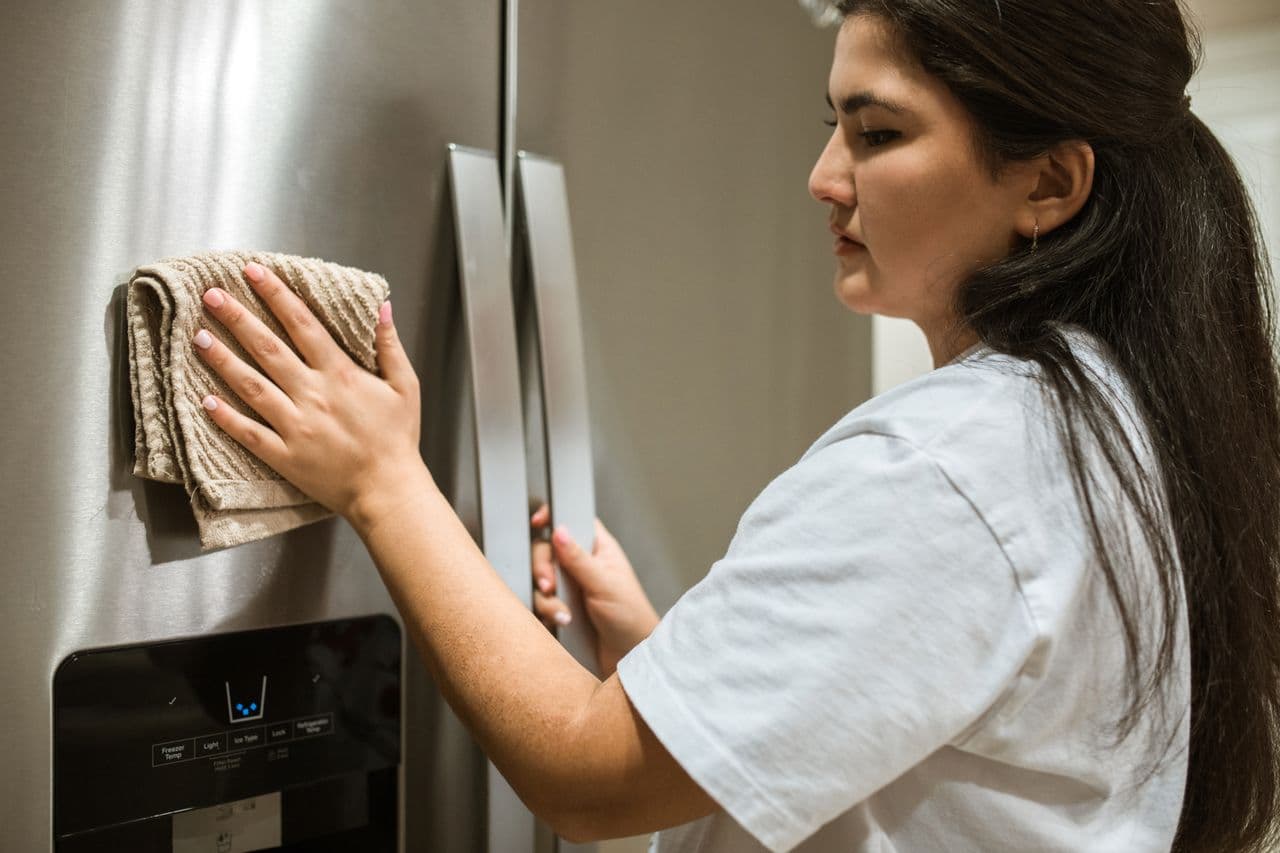
You open the fridge and notice the door feels slightly sticky when it closes. A closer look at the rubber gasket reveals a thin film of residue and, in the folds, small dark spots that look a lot like mold. In summer the problem shows up faster and comes back quicker.
The temperature difference between the cold interior and warm, humid kitchen air creates condensation right on the door seal. That moisture, mixed with food splatters and dust, turns the gasket into a perfect spot for sticky buildup and mold. Left alone, it weakens the seal, makes the compressor work harder, and can affect food freshness.
Learning how to clean refrigerator door seals the right way takes 10–15 minutes, uses gentle household ingredients, and focuses on the folds where most people miss the grime. Done regularly in humid months, it keeps the gasket flexible, the seal tight, and the mold away.
Why Fridge Door Gaskets Get Sticky and Moldy in Summer
Every time you open the door, warm moist air rushes in and meets the cold gasket. Condensation forms in the accordion-style folds. Food particles, spills, and dust stick to that damp surface. In high humidity the moisture doesn’t evaporate quickly, so mold spores have time to take hold.
A dirty or sticky gasket also prevents a tight seal. Cold air leaks out, the fridge runs longer, and more condensation forms—creating a cycle. Cleaning the surface is only half the job. You have to get into the grooves and, most importantly, dry everything completely.
What You’ll Need
- Warm water
- Baking soda or a few drops of mild dish soap
- Soft toothbrush or cotton swabs
- Microfiber cloths
- Optional: diluted white vinegar or 3% hydrogen peroxide for mold
- Optional: petroleum jelly or food-grade silicone for conditioning
No harsh cleaners. Bleach, ammonia, and abrasive scrubbers can dry out or damage the rubber.
How to Clean Refrigerator Door Seals (Step by Step)
1. Prep the Area
Open the door fully. Wipe away any loose crumbs or obvious spills with a dry or slightly damp cloth. If the gasket is heavily soiled, you can unplug the fridge for safety, but it’s not required for a quick clean.
 Image courtesy of Matilda Wormwood on Pexels
2. Mix a Gentle Solution
Combine 2 cups warm water with 1–2 tablespoons baking soda, or use warm water with a few drops of mild dish soap. The solution should be lightly soapy, not foamy. For visible mold, keep a separate diluted vinegar solution (1:1 with water) or hydrogen peroxide ready.
3. Clean the Outer Surface and Folds
Dip a soft cloth in the solution, wring it well, and wipe the entire gasket. Then gently pull back the folds with your fingers (don’t stretch hard) and use the toothbrush or cotton swabs to clean inside every crease. Work section by section—top, sides, and bottom.
Sticky residue often softens if you hold a warm, damp cloth against it for a minute before brushing. Take your time in the corners; that’s where mold likes to hide.
4. Address Mold if Present
If you see black or dark spots, apply the diluted vinegar or hydrogen peroxide, let it sit 5–10 minutes, then gently scrub and wipe. These options kill mold spores without the harshness of bleach. Always rinse afterward.
5. Rinse and Dry Thoroughly
Wipe the entire gasket with a clean cloth dampened with plain water to remove any cleaner residue. Then dry completely with a dry microfiber cloth, paying special attention to the inside of the folds. Leave the door open for a few minutes if needed so remaining moisture can evaporate.
This drying step is the one most people rush, and it’s the main reason mold returns quickly.
6. Optional Conditioning
Once the gasket is fully dry, rub a very thin layer of petroleum jelly or food-grade silicone along the surface that contacts the fridge body. This keeps the rubber flexible and helps maintain a better seal, especially useful in dry or very humid conditions. Wipe off any excess.
What Most People Get Wrong
The biggest mistake is cleaning only the visible outer surface. Mold and sticky film live in the folds. Another common error is closing the door while the gasket is still damp—trapped moisture restarts the mold cycle almost immediately.
Using bleach or strong degreasers is also a problem. They can make the rubber brittle over time, leading to cracks and a failed seal. Finally, many people clean once and forget about it. In summer humidity, a quick monthly wipe (or bi-weekly if you notice residue) prevents the heavy buildup that requires more work.
Prevention Habits That Keep Seals Clean Longer
- Wipe up spills on or near the gasket as soon as they happen.
- Once a week in humid weather, do a fast wipe with a damp cloth and dry thoroughly.
- Avoid slamming the door or letting items (plastic bags, towels) get caught in the seal.
- Check the seal with the dollar-bill test: close the bill in the door and pull. If it slides out easily with no resistance, the gasket may need attention or replacement.
- Keep kitchen humidity in check when possible—run the range hood while cooking and consider a dehumidifier if the space stays very damp.
These small habits reduce how often you need a full clean.
When Cleaning Isn’t Enough
If the gasket is cracked, torn, permanently flattened, or fails the dollar-bill test even after a thorough clean, it may need replacement. Most modern gaskets are replaceable and model-specific. A damaged seal costs more in wasted energy than a new gasket.
Also watch for persistent condensation inside the fridge or excessive frost—these can signal a seal issue or other moisture problems that cleaning alone won’t fix.
Realistic Time and Results
A complete clean of both fridge and freezer door seals usually takes 10–20 minutes. The difference is immediate: the door closes more cleanly, sticky residue is gone, and the risk of mold drops sharply. In peak summer humidity, plan to repeat a lighter version every 2–4 weeks.
FAQ: Refrigerator Door Seal Cleaning
How do I clean mold out of fridge door gasket folds?
Use a soft toothbrush with warm soapy water or a diluted vinegar/hydrogen peroxide solution. Gently open the folds, scrub, rinse, and dry completely. Residual moisture is what lets mold return.
Is vinegar safe on refrigerator door seals?
Diluted white vinegar is generally safe for occasional mold treatment, but rinse it off well and dry thoroughly. Some manufacturers note that repeated use of undiluted vinegar can dry out rubber over time. Baking soda solution is gentler for regular cleaning.
Why does my fridge door seal get sticky in summer?
Condensation from the temperature difference between cold interior air and warm humid kitchen air mixes with food residue and dust. The moisture doesn’t evaporate quickly, leaving a tacky film.
How often should I clean the refrigerator door seals?
In humid summer months, a thorough clean every 3–4 weeks and a quick wipe weekly works well for most households. In drier seasons you can stretch it longer. Wipe spills immediately year-round.
Can I use bleach on the fridge gasket?
It’s best avoided. Bleach can degrade the rubber and is unnecessarily harsh. Stick to baking soda, mild soap, diluted vinegar, or hydrogen peroxide.
How do I know if the door seal needs replacing?
Perform the dollar-bill test. If the bill pulls out easily with little resistance, or if you see cracks, tears, or permanent flattening, the gasket is likely no longer sealing properly and should be replaced.
Related Articles
- 10-Minute Kitchen Sink & Countertop Reset
- 15-Minute Kitchen Cabinet Fronts Clean
- Garbage Disposal Refresh with Ice, Salt & Citrus
- Stovetop Grease Reset with Baking Soda & Vinegar
Sticky residue and mold on the refrigerator door seals are easy to ignore until the door doesn’t close cleanly or the smell becomes noticeable. A careful clean that reaches into the folds, followed by complete drying, stops the problem and helps the gasket do its job.
Set aside 15 minutes this week, clean both the fridge and freezer seals, and dry them thoroughly. You’ll notice the door feels better immediately, and you’ll reduce the chance of summer mold taking hold.
Have you noticed sticky seals or dark spots in the folds lately? Tell me in the comments what your fridge situation looks like—I read them and can help you fine-tune the approach. You’ve got this.
Related Posts
More in Kitchen & Dining →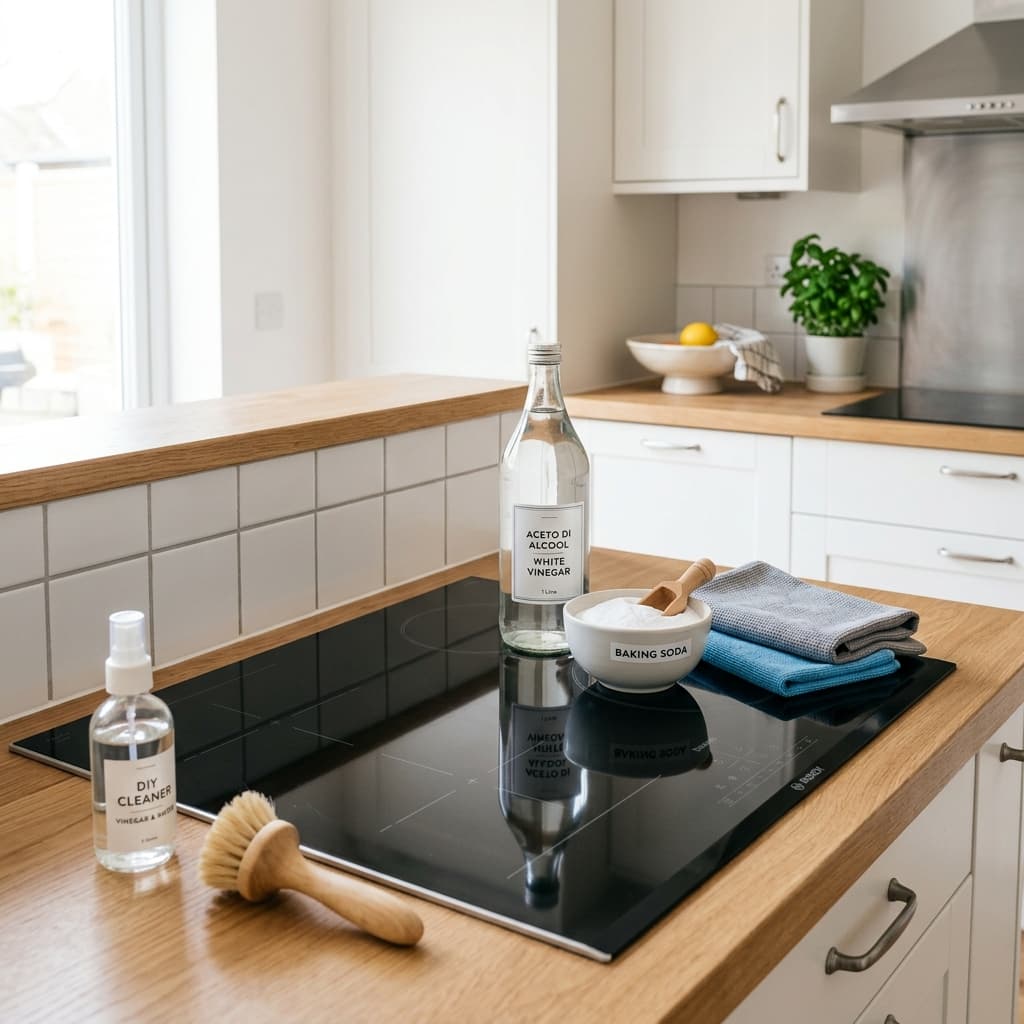
Stovetop Grease Reset with Baking Soda & Vinegar
Sticky summer grease on your stovetop? This baking soda and vinegar method loosens residue with almost no heavy scrubbing so your stove looks clean again fast.

Garbage Disposal Refresh with Ice, Salt & Citrus
Summer heat making your garbage disposal smell? This ice, salt, and citrus refresh stops odors and cleans the blades in minutes without harsh chemicals.
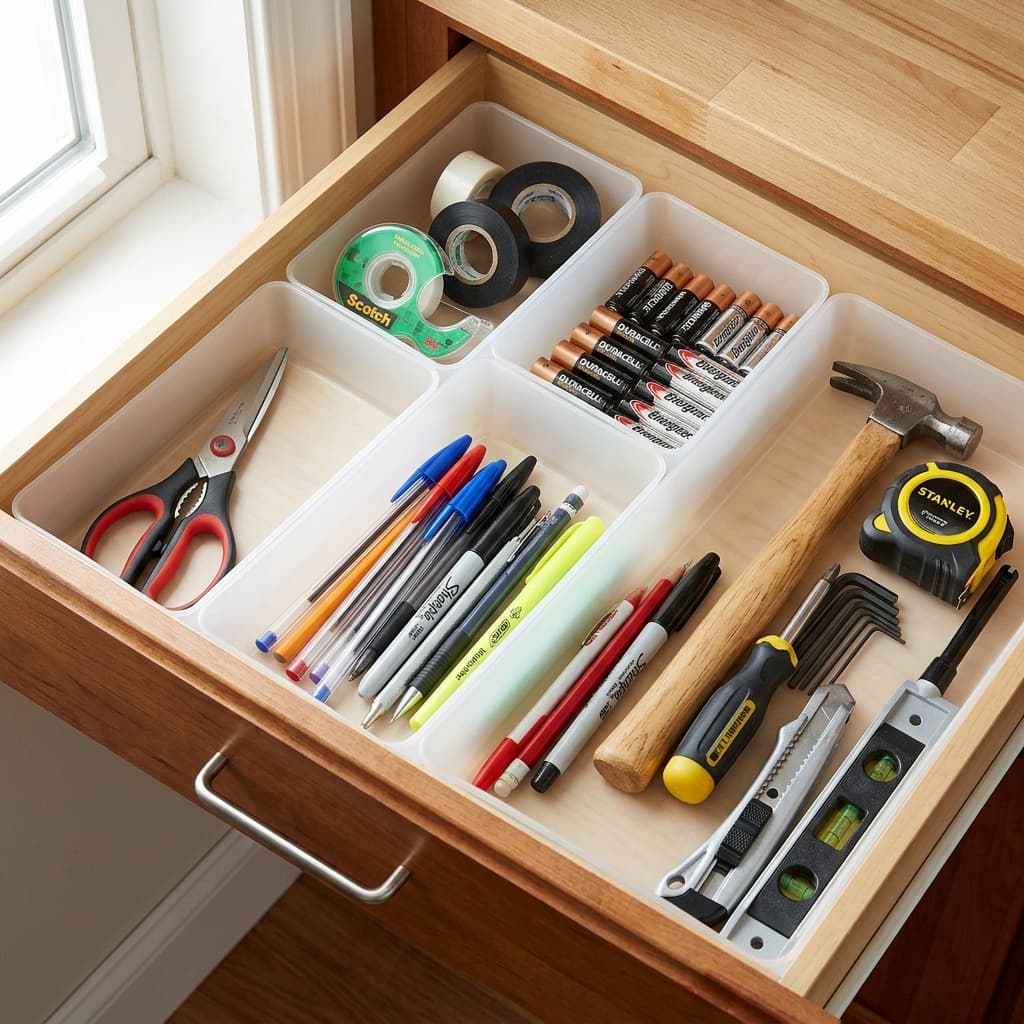
Kitchen Junk Drawer Organization (Under $10)
Tired of the chaotic kitchen junk drawer? This kitchen junk drawer organization system costs under $10 and stops daily clutter from building back up fast.